➡️Jump to Recipe⬅️
Controversial opinion alert, but I don’t think humans should consume dairy in adulthood. As we age, our production of lactase enzyme decreases, making dairy increasingly difficult to digest. It may cause gas, bloating, loose stool, inflammation, and increased mucous production in certain people.
I picked up one of the So Delicious coconut milk yogurts at the store the other day and was shocked to see that (among the unsavory thickeners and emulsifier additives) an 8 oz container had over 20 grams of sugar! That’s about 5 teaspoons of sugar. No thanks.
Now, fermented dairy, like kefir or yogurt, is a great source of gut healing probiotics. Why should the dairy free be deprived of such benefit? I decided to task myself with a coconut milk yogurt that is thick, creamy, tangy, delicious, and remarkably similar to cow yogurt with just a trace amount of sweetener in the form of raw honey (which you could exclude). Coconut milk yogurt is remarkably easy to make in just 24 hours, AND I added gelatin to thicken it and give it a little protein. Gelatin has amazing gut healing properties. Win-win-win. The probiotics AND gelatin make this homemade coconut milk yogurt a gut healing superfood.
How to Make Homemade Coconut Milk Yogurt
YOU’LL NEED:
- 2 cans coconut milk
- 1-2 tsp grass fed gelatin (see notes, below)
- 1 tsp raw honey (optional but also enhances fermentation)
- 1 tsp powdered probiotics (or you can just break open 1-2 capsules). I use this powdered probiotic for ease.
- 2 16oz Ball jars
WHAT TO DO:
First off, chill your 2 cans of coconut milk in the refrigerator for a minimum of 24 hours. You want the cream to separate and rise to the top, leaving the water behind (dump or use in a smoothie). After they’ve chilled, open the cans and carefully scrape off the hardened coconut cream into a medium-sized saucepan on the stove.
Heat the coconut cream carefully over medium-low heat, whisking constantly to get rid of the lumps. When it’s warm and uniform, whisk in the 1-2 teaspoons of gelatin and keep whisking to make sure no lumps form. You don’t want lumpy yogurt! Then whisk in 1 tsp of honey (see notes, below). Remove from heat and let it cool.
Once cooled, whisk in 1 tsp of probiotic powder and mix thoroughly. Don’t do this if the coconut milk is hot, or the heat will kill the probiotic.
Transfer to jars. I used 2 Ball jars. It will grow a bit as it ferments. Screw on the lids, then transfer to a cold oven with only the pilot light on. This will incubate the yogurt enough to ferment but not hot enough to kill the beneficial bacteria. You basically want it to incubate at 100-110 degrees.
Leave it in there undisturbed for 24 hours. This will yield a nice tangy yogurt.
It will separate, like this. That’s normal.

It will also be much thinner and more watery than when you started. Shake it up and put it in the fridge to set. I have also added 1/2 tsp of vanilla extract or almond extract at this stage which makes the final product extra delicious.
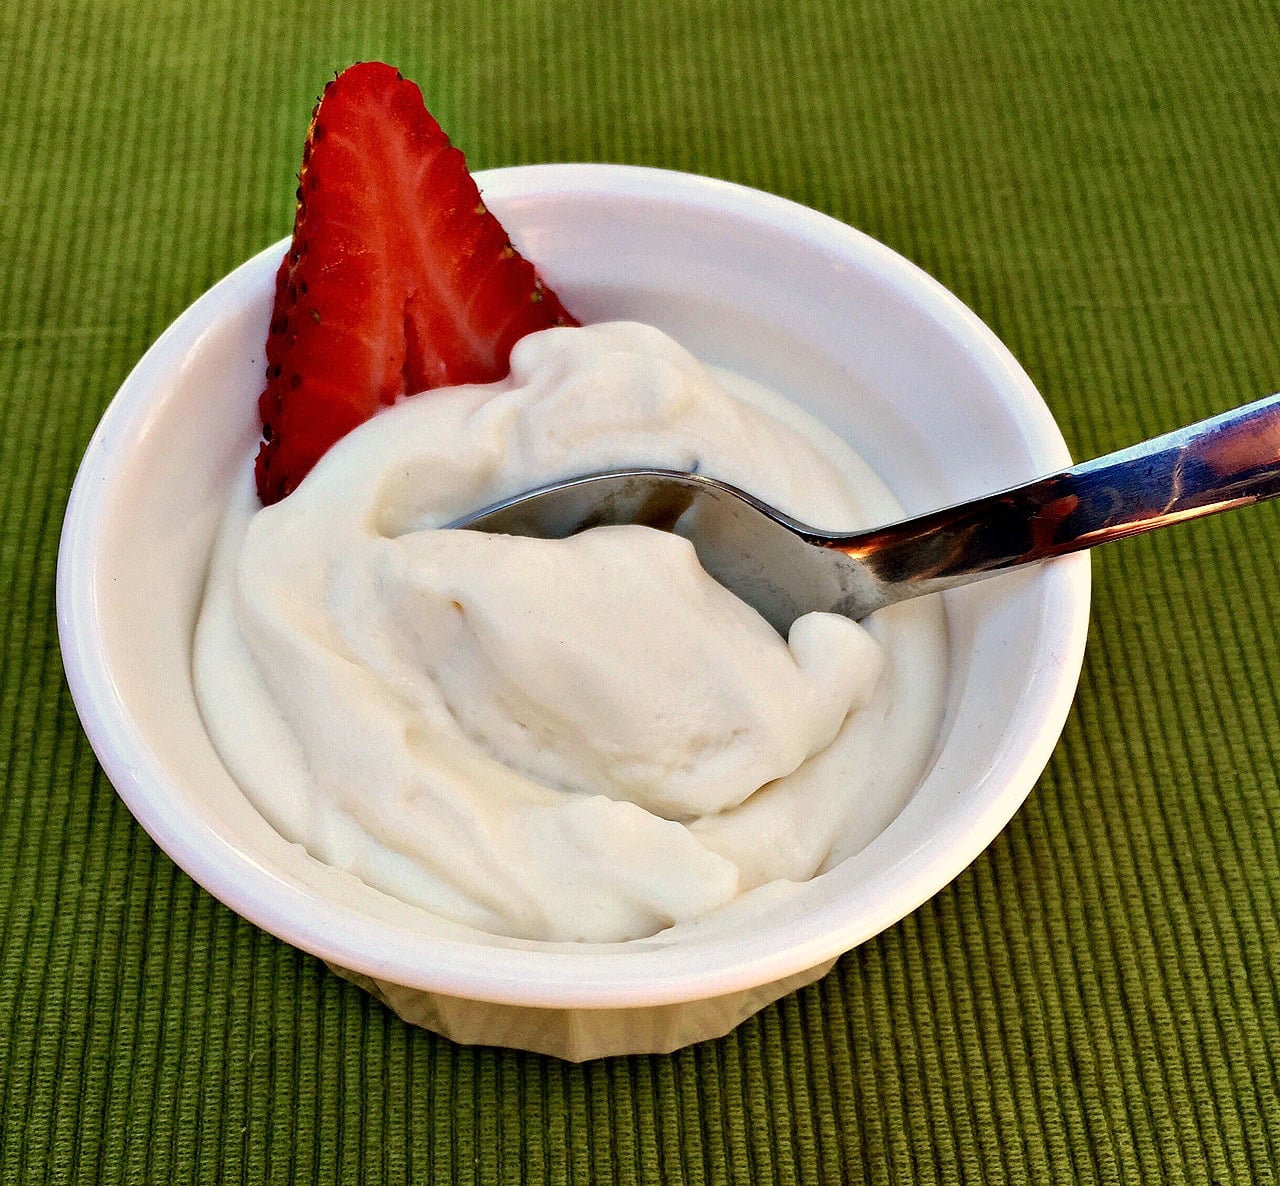
Let it thicken for about 2 hours. It will be pretty thick and dense, which is what I prefer. Stir. You can whip it with a hand blender and it will turn really smooth and creamy, like this.

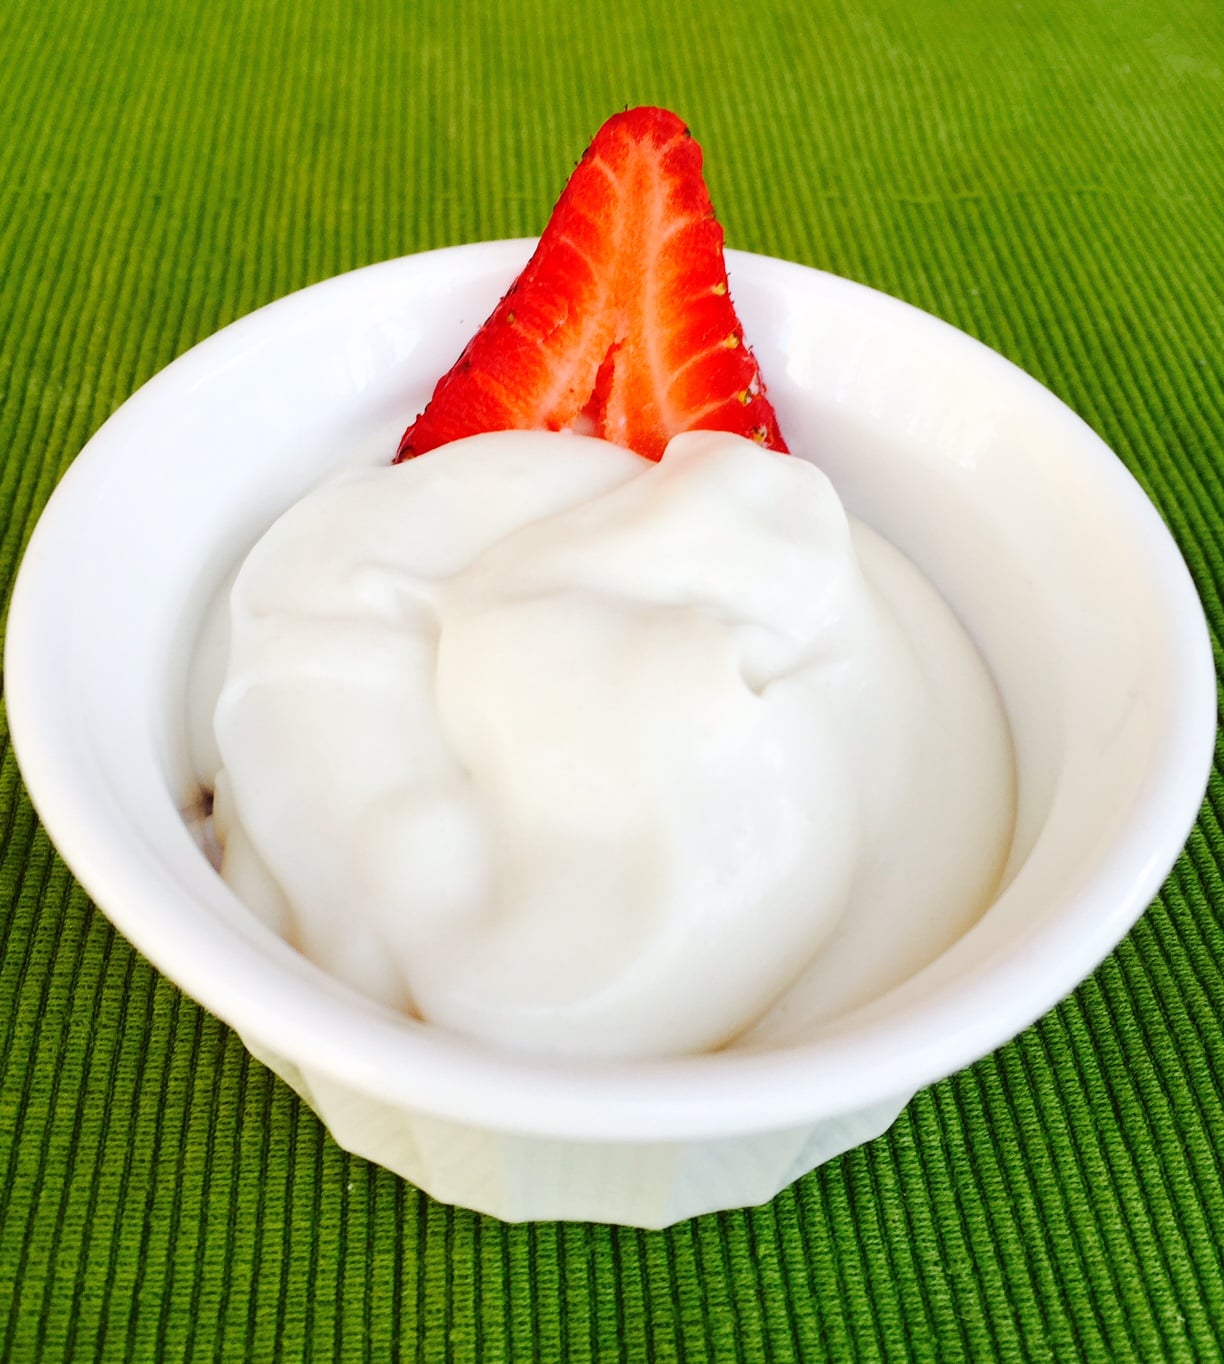
It’s ready to eat! Enjoy. This makes a little over 2 cups of yogurt.
NOTES
- I like a very thick yogurt. If you wanted yours on the thinner side, you can add just 1 tsp of gelatin or leave it out altogether, which will yield you a more kefir-consistency yogurt.
- You can leave out the honey or increase it, depending on your desire for sweetness. This is perfect in my opinion, but my taste testers declared it a bit “tangy” for their taste and said it could benefit from more honey. You could also just use stevia.
- I often add vanilla or almond extract after I shake it and refrigerate it. So delicious.
- Use this exactly how you’d use regular yogurt! It’s great with fruit, in smoothies, for a snack with some cinnamon, or atop grain free breakfast porridges.

Dairy Free Homemade Coconut Yogurt
Equipment
- 16 oz Bell jars
Ingredients
- 2 cans coconut milk
- 1-2 tbsp beef gelatin optional, see notes above
- 1 tsp raw honey
- 1 tsp powdered probiotic
Instructions
- First off, chill your 2 cans of coconut milk in the refrigerator for a minimum of 24 hours. You want the cream to separate and rise to the top, leaving the water behind (dump or use in a smoothie).
- Open the cans and carefully scrape off the hardened coconut cream into a medium-sized saucepan on the stove.
- Heat the coconut cream carefully over medium-low heat, whisking constantly to get rid of the lumps. When it’s warm and uniform, whisk in the 1-2 teaspoons of gelatin and keep whisking to make sure no lumps form.
- Whisk in 1 tsp of honey.
- Remove from heat and let it cool.
- Once cooled, whisk in 1 tsp of probiotic powder and mix thoroughly. Don’t do this if the coconut milk is hot, or the heat will kill the probiotic.
- Transfer to jars. I used 2 Ball jars. It will grow a bit as it ferments. Screw on the lids, then transfer to a cold oven with only the pilot light on. This will incubate the yogurt enough to ferment but not hot enough to kill the beneficial bacteria. You basically want it to incubate at 100-110 degrees.
- Leave it in there undisturbed for 24 hours.
- It will also be much thinner and more watery than when you started. Shake it up and put it in the fridge to set. I have also added 1/2 tsp of vanilla extract or almond extract at this stage which makes the final product extra delicious.
- Let it thicken for about 2 hours. It will be pretty thick and dense, which is what I prefer. Stir. You can whip it with a hand blender and it will turn really smooth and creamy.
- Enjoy!

Mary Vance is a Certified Nutrition Consultant and author specializing in digestive health. She combines a science-based approach with natural therapies to rebalance the body. In addition to her 1:1 coaching, she offers courses to help you heal your gut and improve your health. Mary lives in San Francisco and Lake Tahoe in Northern California. Read more about her coaching practice here and her background here.


Yummy! I have an electric stove, so I’m not sure the pilot light option will work, and the lowest cook setting is 170 degrees. Do you have an alternative heating method you’d recommend?
I’ve heard of using crock pots and even heating pads– with a large stock pot covering the jar on top of a heating pad. I would try googling those methods, but I haven’t tried anything other than this one.
I purchased a yogurt maker but haven’t tried it yet. I could use that, right.
Yes, a yogurt maker would work fine!
Would a liquid PREBiotic work as well as the Pro biotic?
Adding extra liquid will make it thinner, but it should work beyond that.
This is like a sweet, fun little science project. 🙂