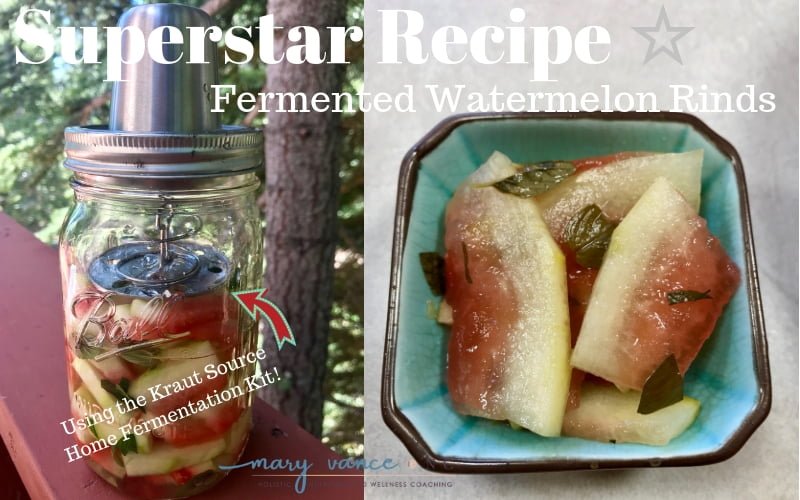
I’m SO excited to share this recipe. It’s my first time using my friend and colleague Karen’s home fermentation device, Kraut Source. She invented it! How cool is that?
And the recipe I chose, fermented watermelon rinds, packs a double punch of gut healing probiotic power AND the health benefits of watermelon rind. You read that right: Watermelon rinds have health benefits! It makes me so happy that you can use all the parts of the mighty watermelon. Don’t toss that rind!
But first, a little about Kraut Source. It’s a stainless steel gadget you can use to make fermented foods like sauerkraut, natural pickles, fermented beverages, kimchi, and just about anything cultured or fermented at home. All you need is a wide-mouth mason jar. It has a durable, spring-loaded weight that keeps everything submerged in the brine in the jar, and the airlock/moat system keeps oxygen out and safely releases carbon dioxide, a byproduct of the fermentation. It’s dishwasher safe, easy, and fun to use. All you do is add your ingredients to the jar; add brine to the jar; screw on the lid; and fill the moat with water. That’s it!
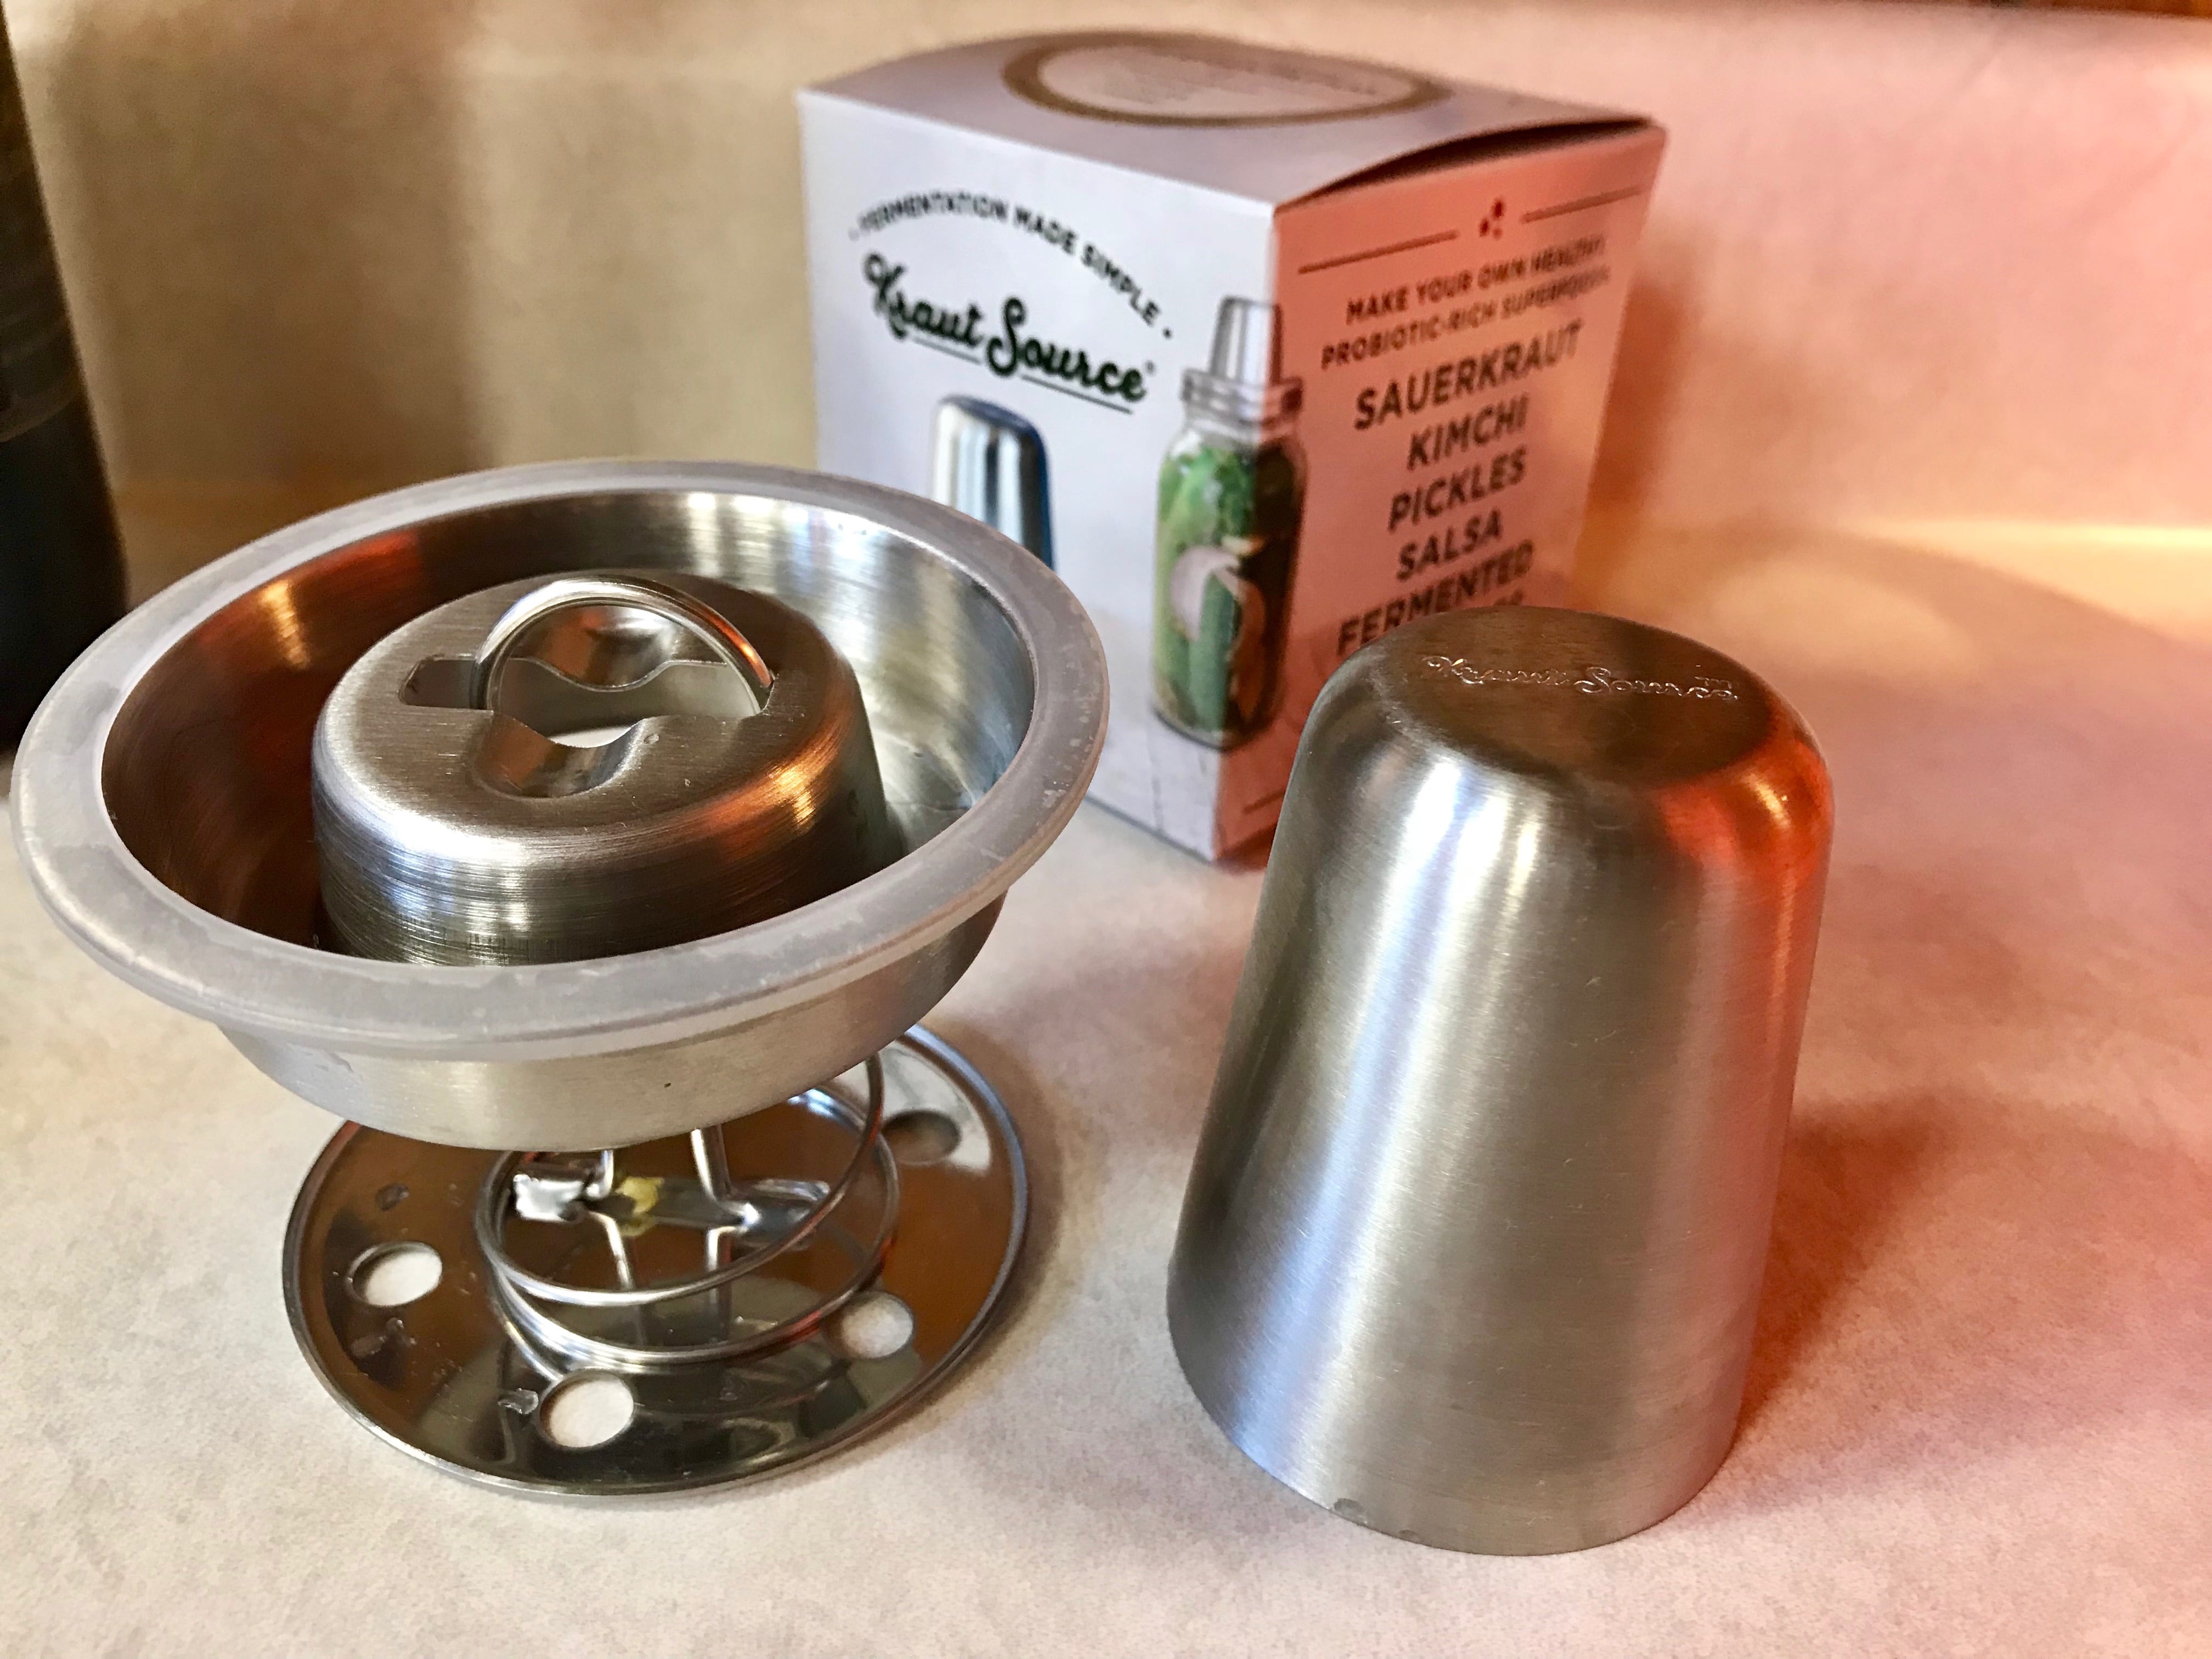
The Kraut Source kit.
Home fermenting is supposedly easy, but if you’re like me, you may balk at all the steps and special crocs or whatever it is you need to home ferment. I always buy raw kraut because it just seems like too much of a hassle to make. But Kraut Source changes all that! The little device cannot be easier to use, and it’s small and doesn’t take up a lot of kitchen space when you’re not using it.
This was my very first fermentation project, and it was super easy.
Why I Chose Watermelon Rinds
I first heard about watermelon rind’s benefits on a podcast years ago and have been intrigued ever since. Then I heard about watermelon rind pickles and learned that you could ferment the rinds also. Because how else does one actually eat watermelon rinds?! It’s always made me sad to toss such a huge part of the watermelon, so I was psyched to learn you can–and should–eat the rinds, and there’s an easy way to include them in your diet.
It turns out that watermelon rinds contain citrulline. Citrulline is an amino acid that creates arginine, another amino acid that makes proteins for your body and plays a role in the relaxation of your blood vessels. (source) Arginine boosts nitric oxide, which relaxes blood vessels and therefore may help treat angina and other cardiovascular problems.
The citrulline and arginine in watermelon rinds may improve erectile dysfunction (because it increases blood flow); benefit the heart & immune system; aid in detox; boost muscle growth; combat fatigue; and even fight cancer. There’s even promising research that arginine benefits sickle cell anemia. (source) So now you can get the benefits of the watermelon rind AND the benefits of a fermented food all in one!
Why You Should Home Ferment
I talk a lot about why we all need to add more cultured and fermented foods to our diets. Fermented foods are your digestive foundational rockstars, as they provide bacterial diversity to your microbiome which, in turn, improves digestion and immune health. Beneficial enzymes and probiotics are produced as a result of fermentation. The enzymes help you digest food, and the probiotics colonize your colon.
When you eat or drink the ferments, you’re introducing lots of different strains of beneficial bacteria into your digestive tract. Fermented foods are also high in the important vitamin K2, which is important for cardiovascular health and proper absorption of vitamin D.
I’ve typically purchased raw kraut and fermented beverages, but you can now make them at home for much cheaper in the Kraut Source.
What You’ll Need
- wide mouthed mason jar (mine is 24 ounces).
- a scale, ideally (I do not have one, and it worked out fine.)
- Kraut Source home ferment kit
- good quality sea salt
- filtered water or spring water
- watermelon rinds (make sure to eat the insides, which are also full of antioxidants) from about 1/2 a small to medium melon.
How to Make Fermented Watermelon Rinds
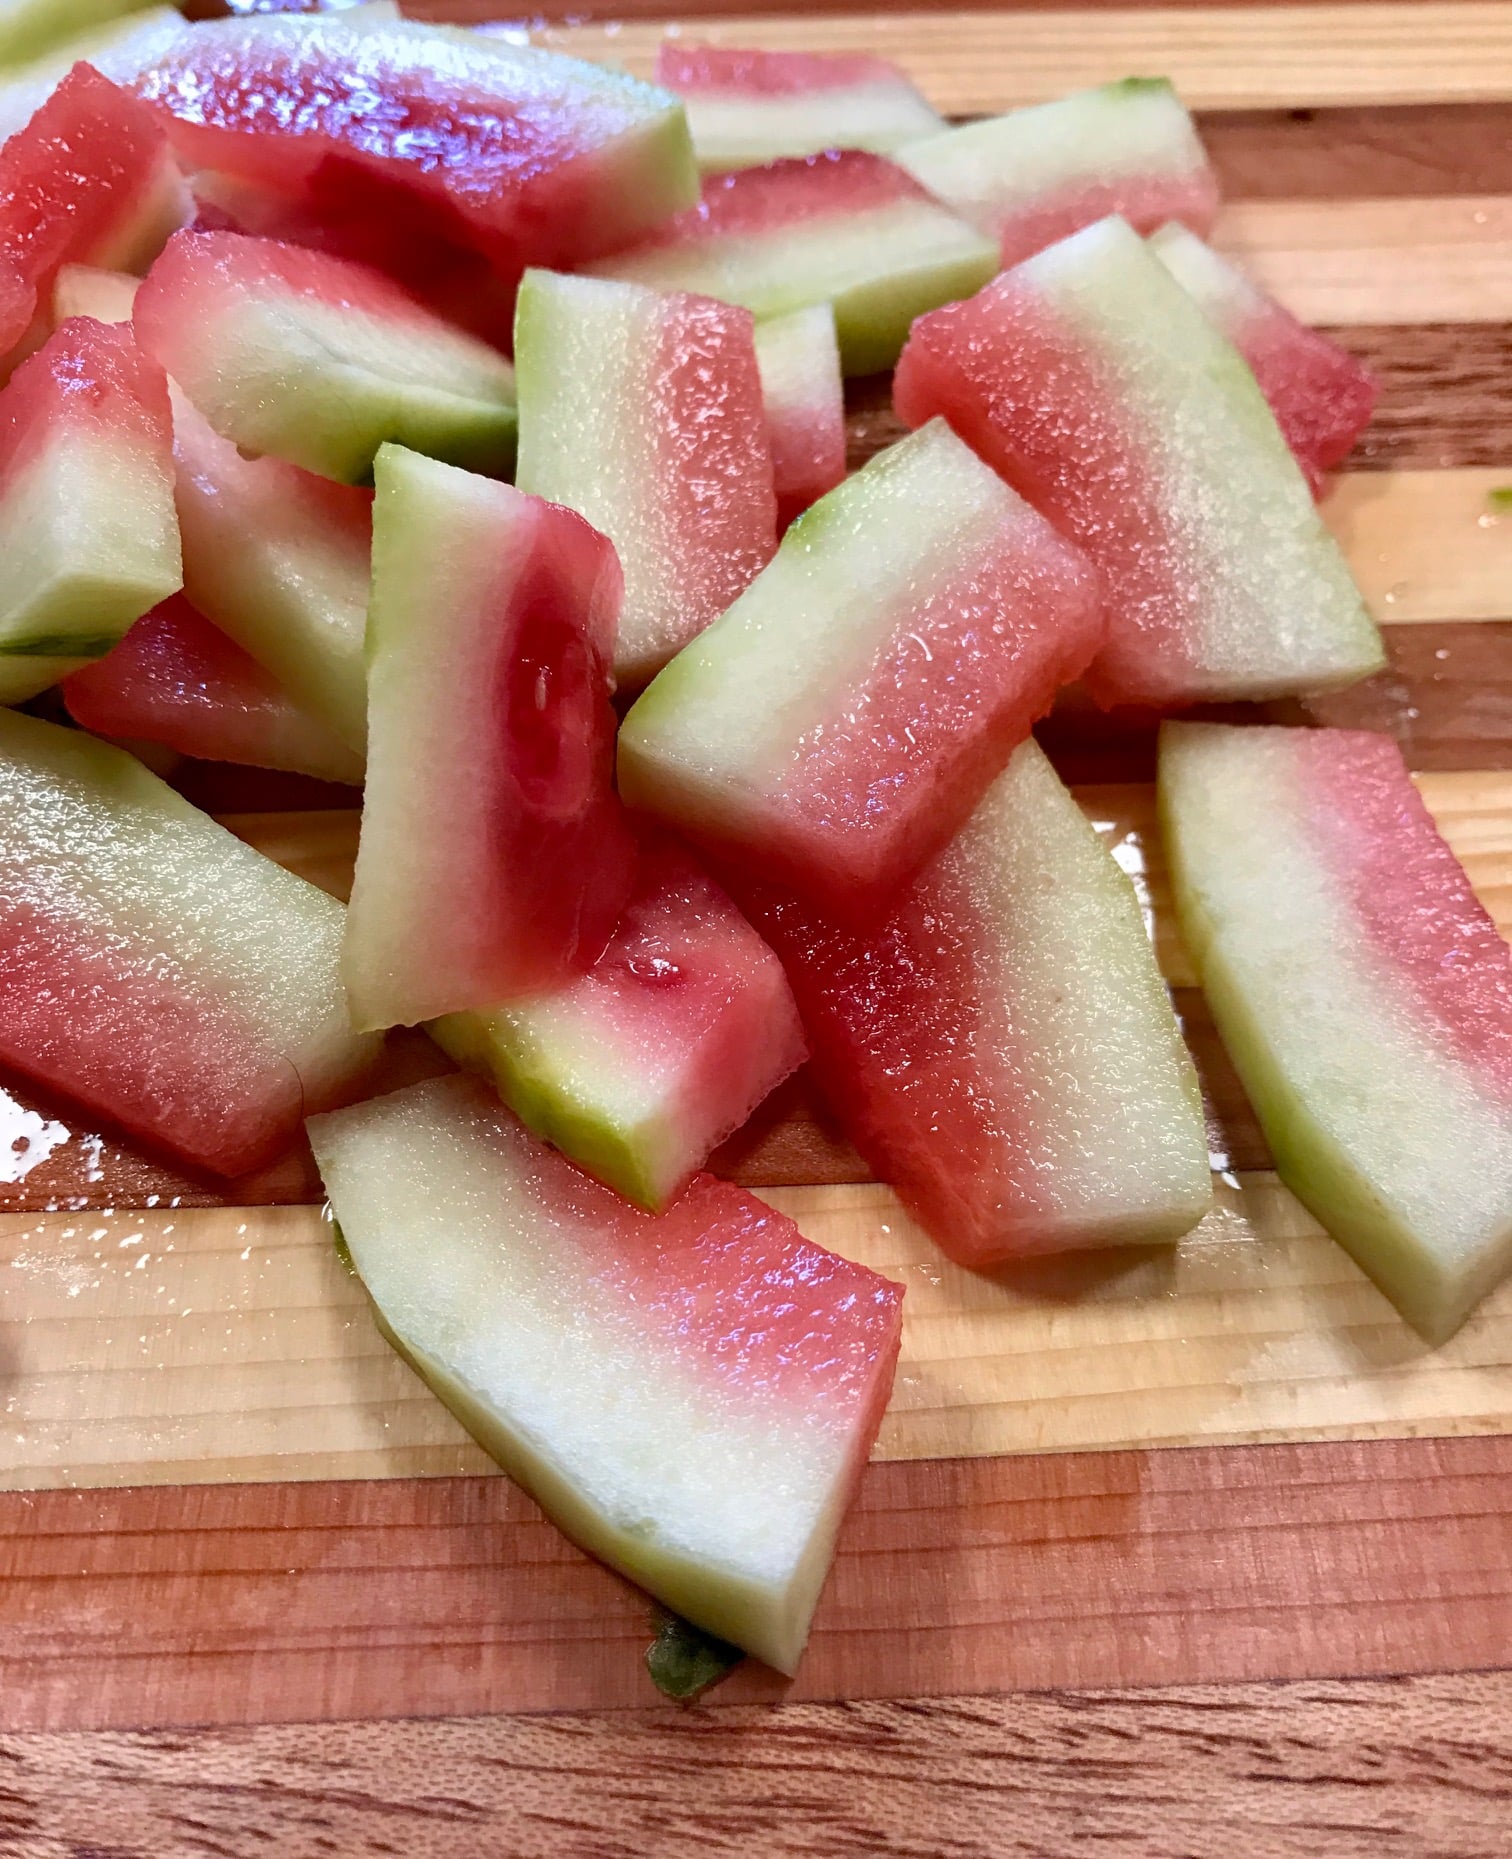
First off, you’ll need to remove the outer green skin from the watermelon, and this is easiest if the watermelon is whole. I used a vegetable peeler.

Next, slice into narrow one inch long pieces. You’ll need 12 ounces or about 3 cups of sliced rinds. Mine are about 1/4 – 1/2 inch wide.
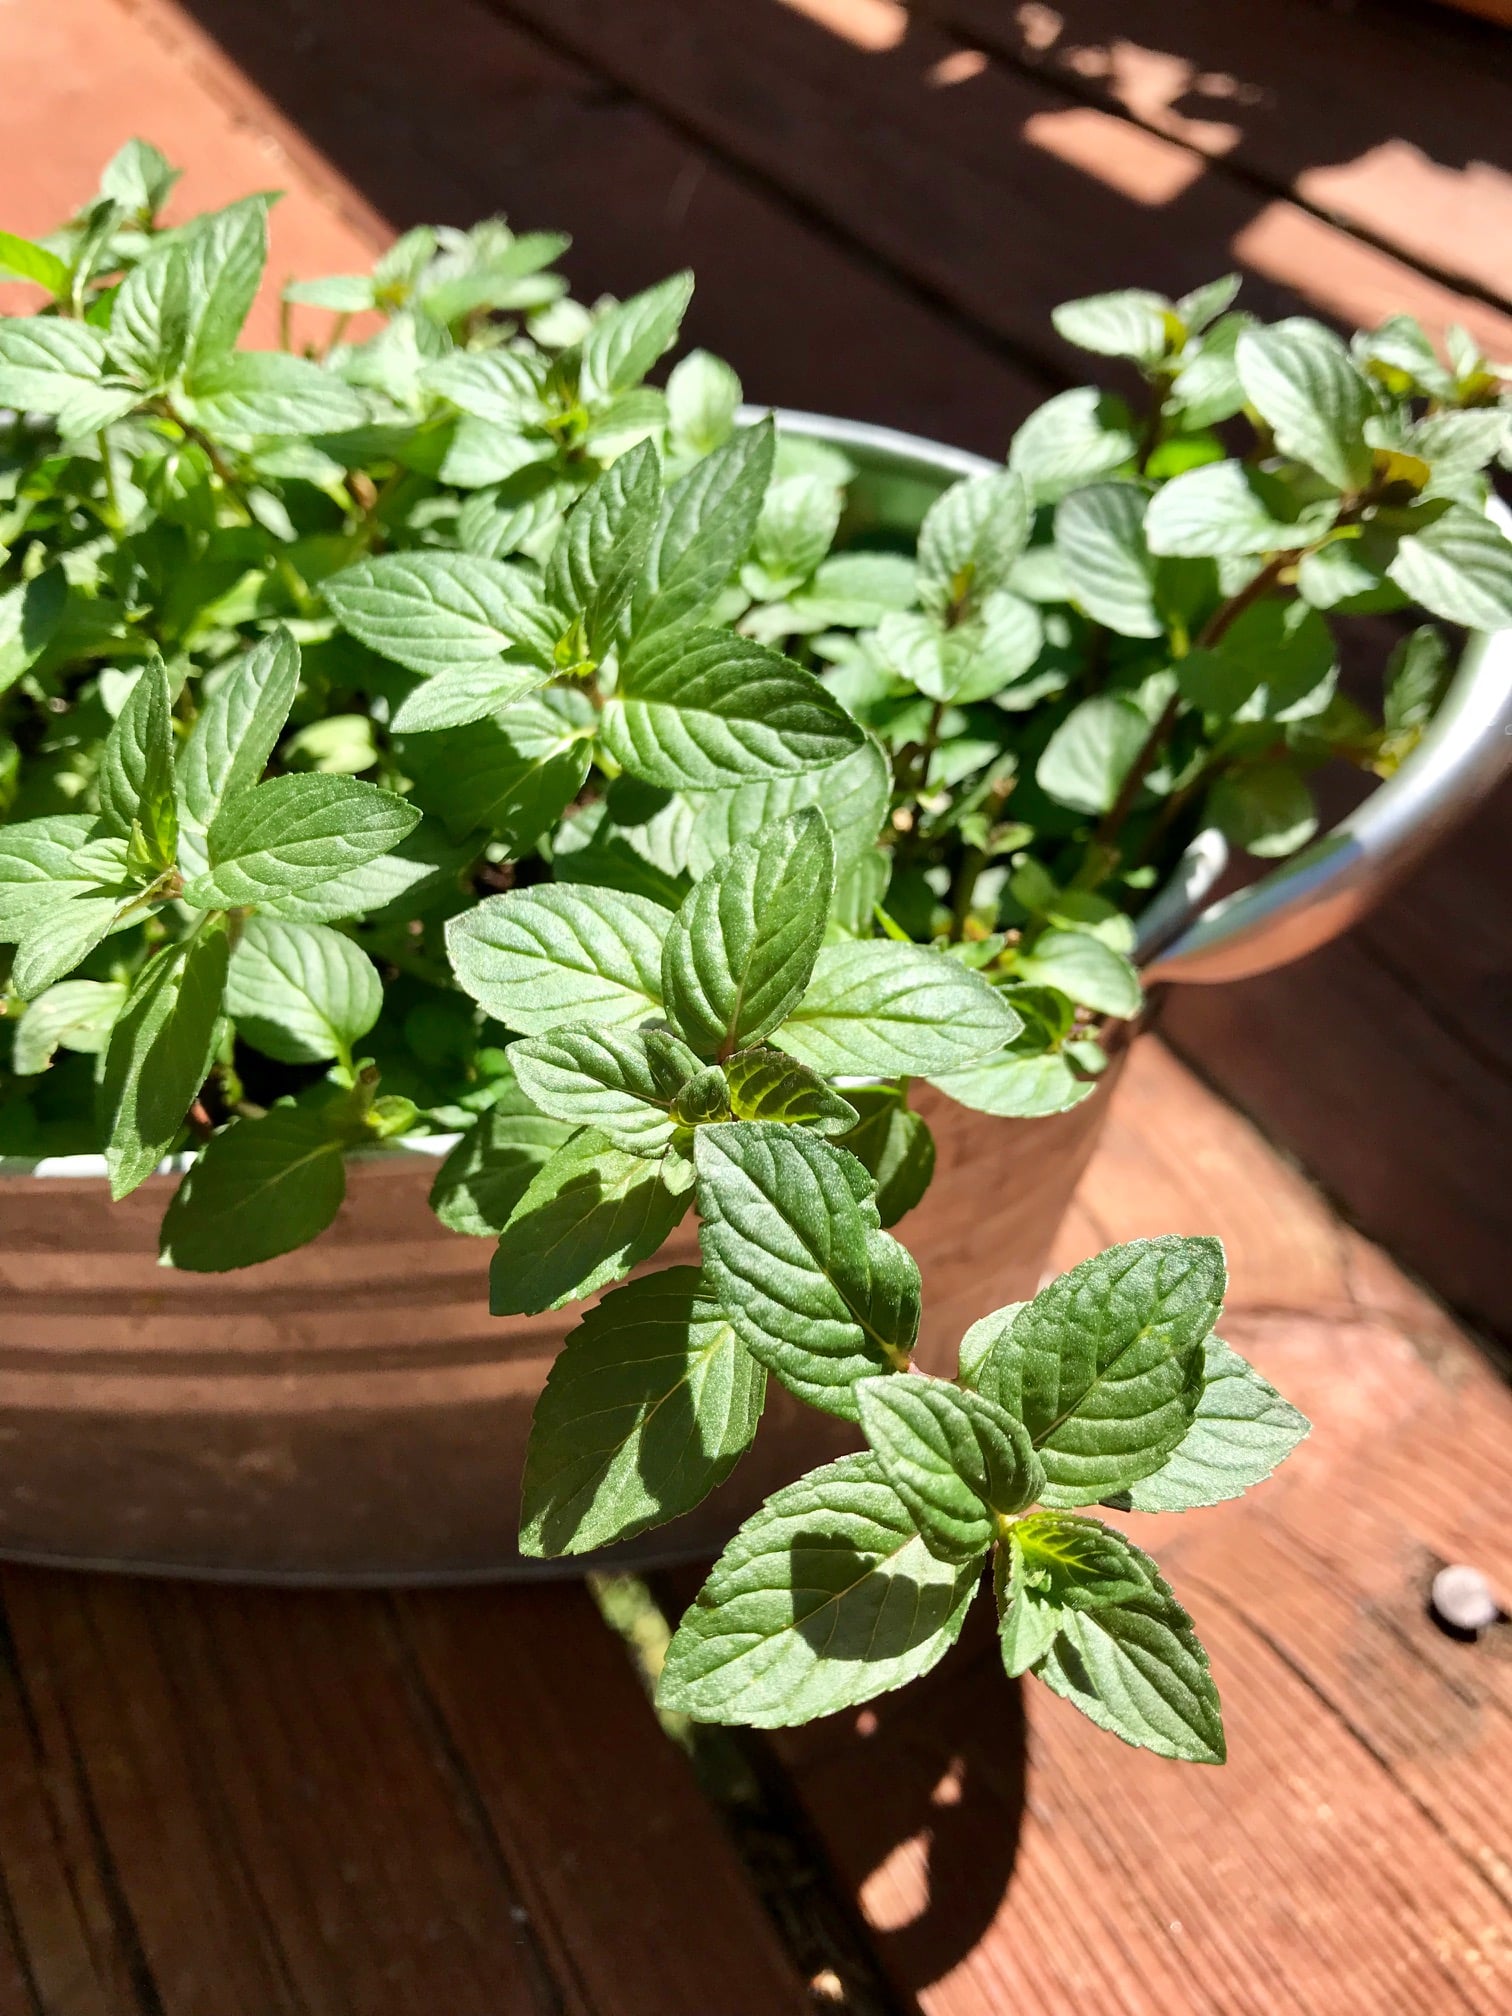
You’ll also need some mint leaves, about 6-7 large or 12 or so small ones. I have a mint plant, so I grabbed mine from my container garden.
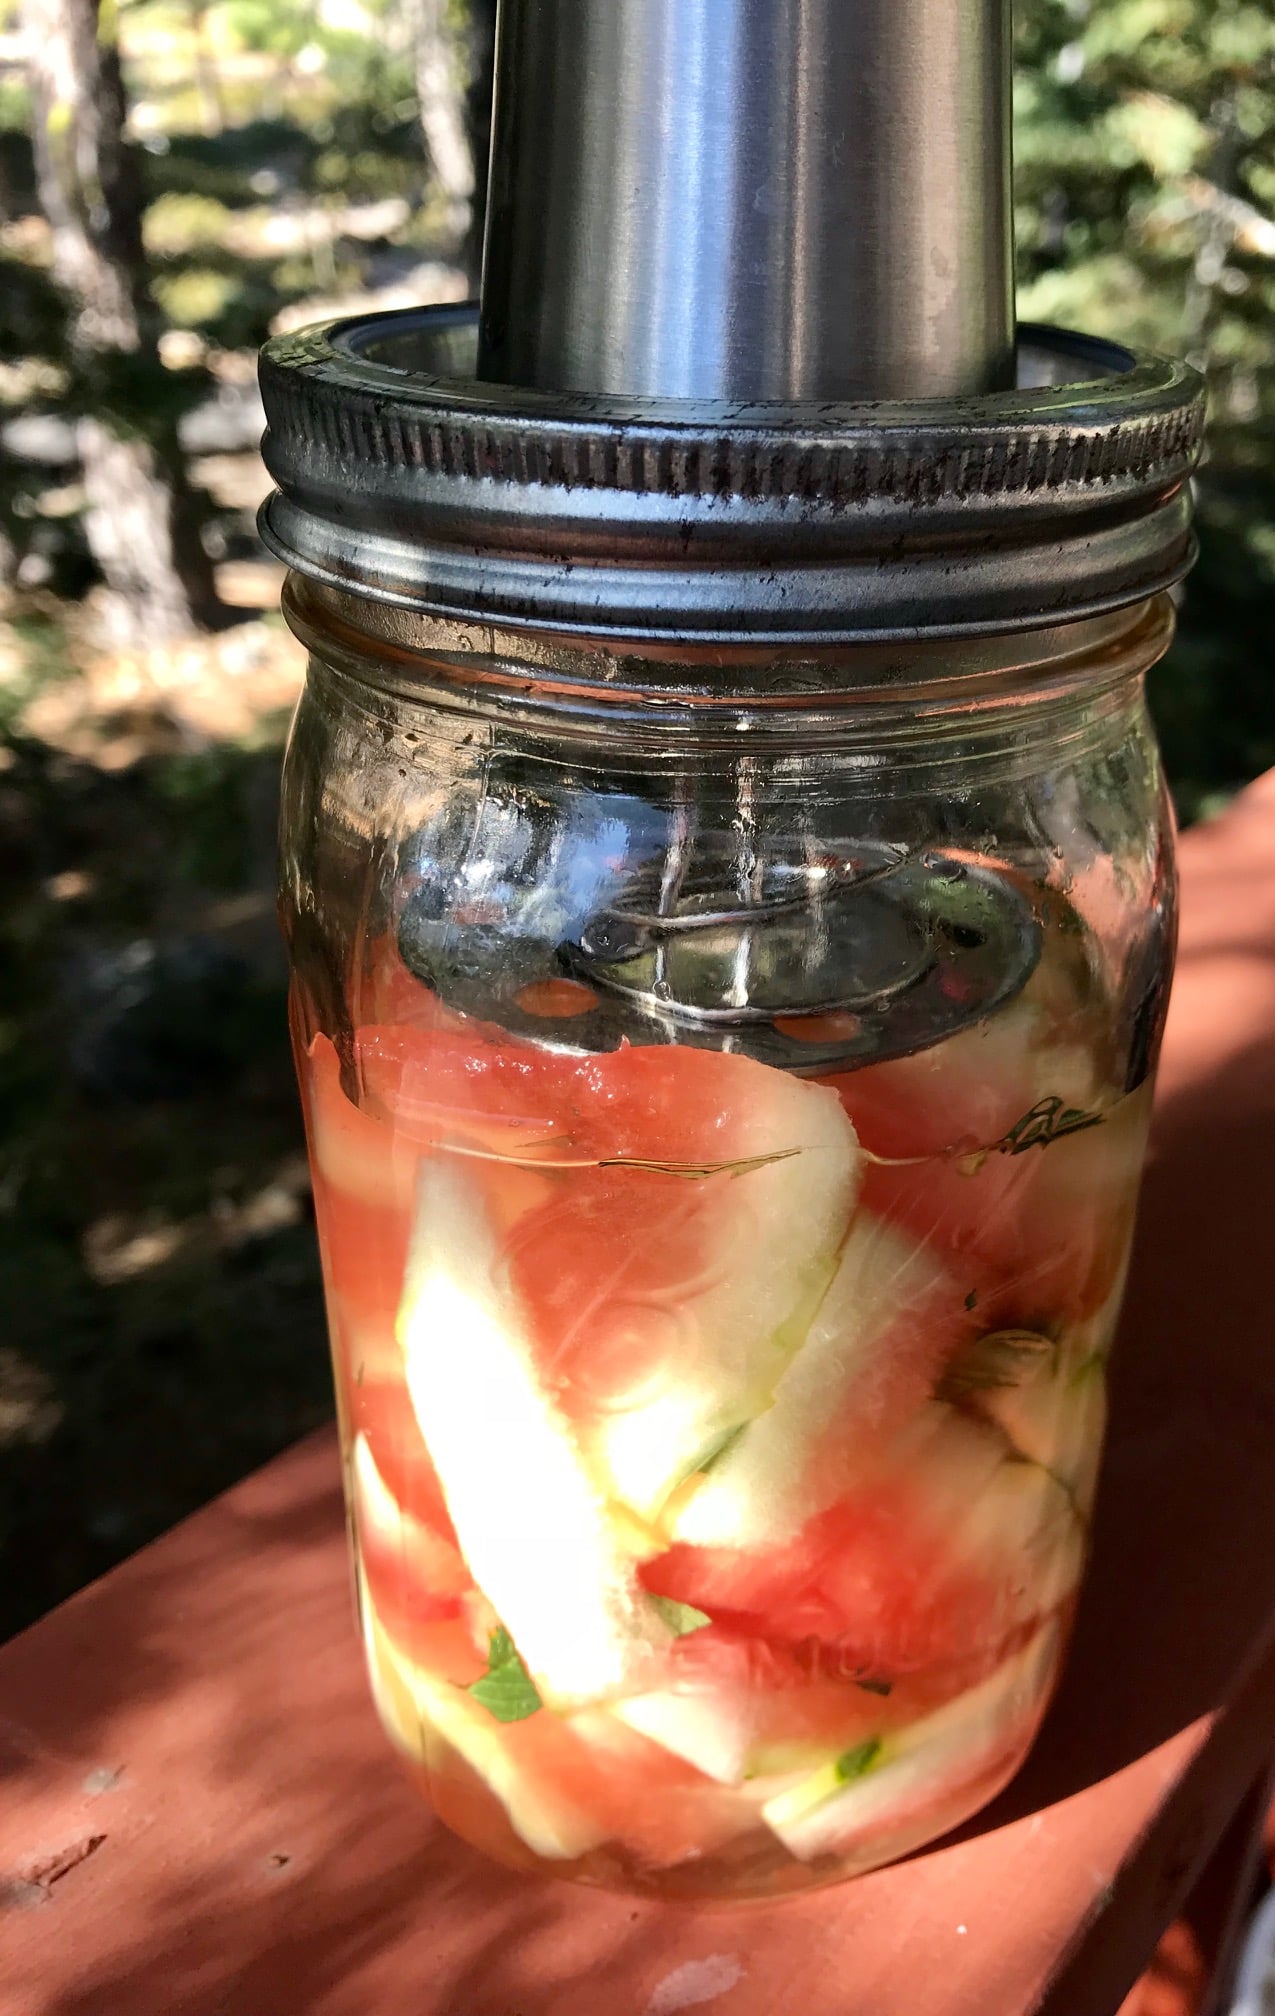
Next, make the brine (see directions below). Place the rinds and mint in the jar, and pour the brine over. The contents should reach the shoulder of the jar. Then assemble the Kraut Source. Directions here.
Here’s what it looks like all ready to go.

Note that the contents should reach the shoulder of the jar. The spring will shove them down a little bit. The brine should cover the contents. The salt will draw out quite a bit of moisture, so it’s OK if the brine doesn’t immediately cover the rinds, but add more brine on day 2 if the contents are not submerged.
You can see the spring loaded device that keeps the contents submerged in the brine for proper fermenting. The gases produced as a result of fermentation would normally cause the contents to grow over the brine, but the Kraut Source spring keeps everything under the brine. Cool! Make sure you refill the moat as needed if it dries up.
Let it sit for 7-10 days! I checked mine after 7 days, and it needed to go a bit longer. I like a stronger flavor. You can also use pH paper (which I had lying around) to make sure it’s finished fermenting. The pH should be around 3-4. You can easily order or purchase pH paper.
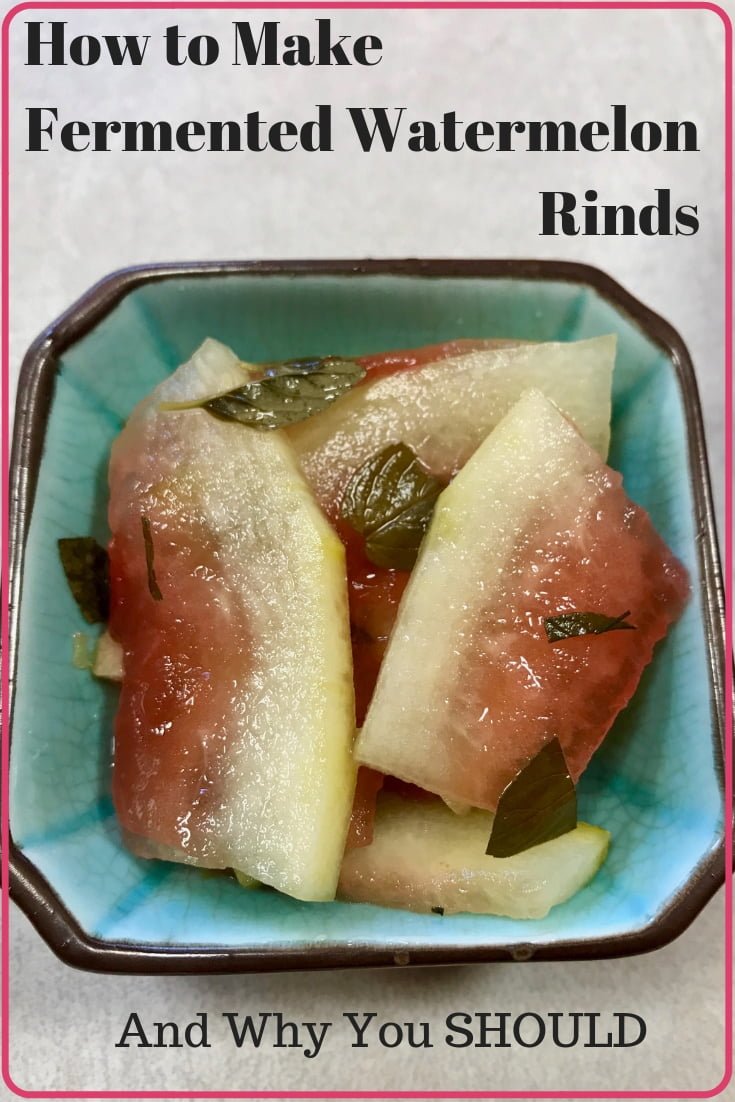
After 7 days mine was a bit too salty and not sour enough. After 9 days it was perfect: a bit briny, a little sour, crunchy, and deliciously fermented! When finished, simply remove the Kraut Source and cap the jar with the regular lid. Store in the fridge. The fermented rinds pair perfectly with any type of meat (especially pork chops and roasted chicken) or even avocado. Eat about 1/8 cup with a meal daily to get all the benefits.
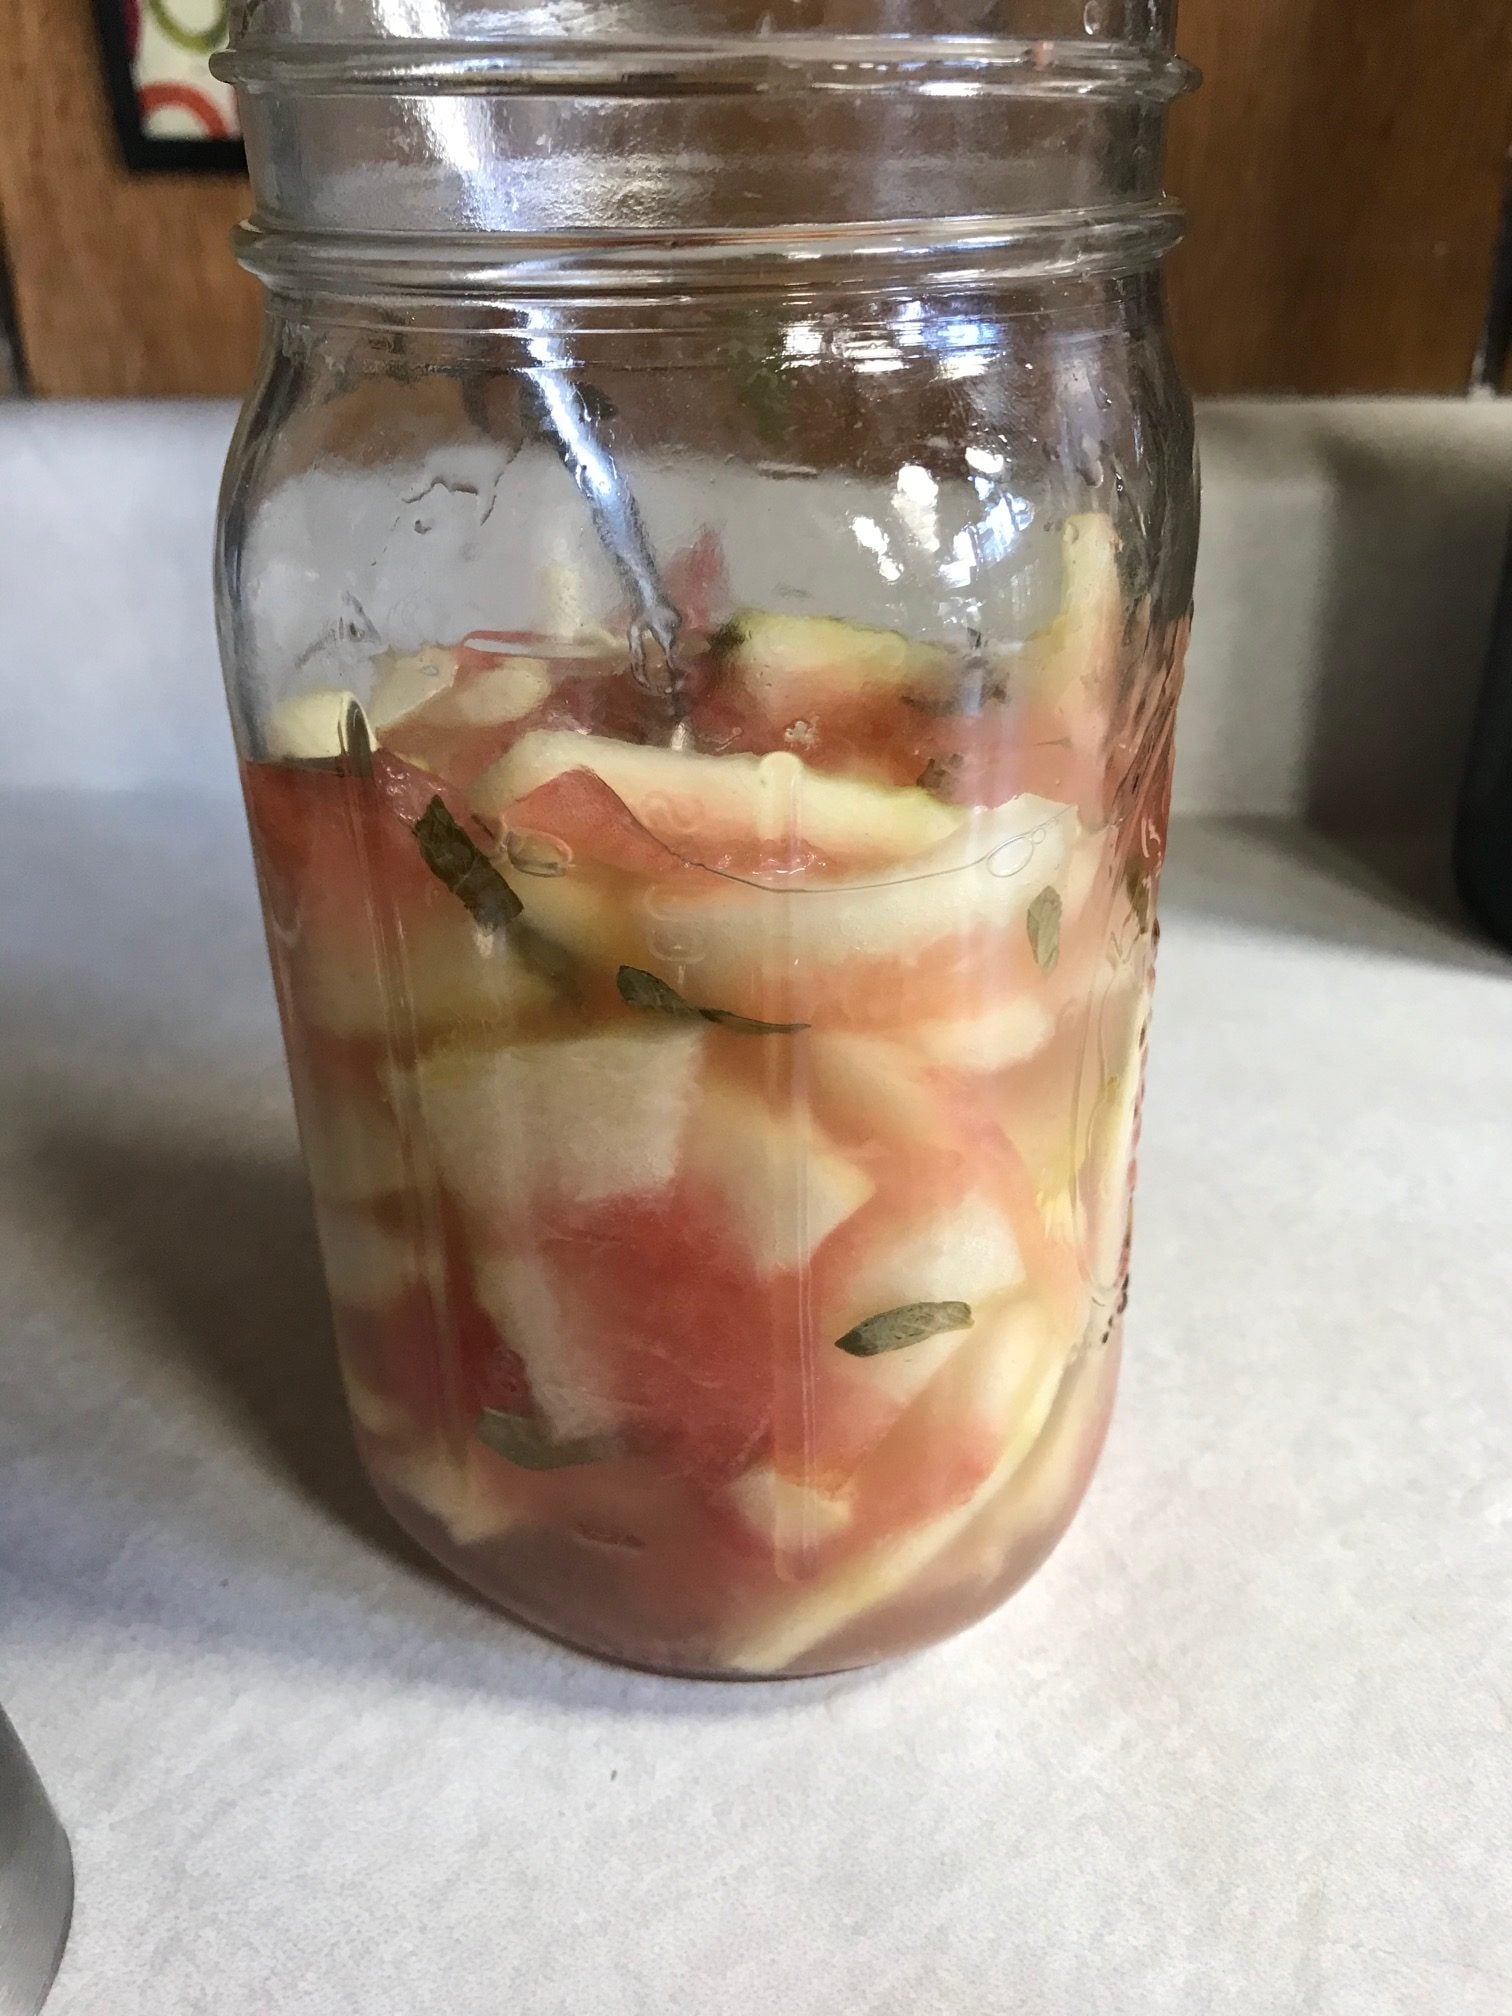
Here it is after 9 days. You can see it’s a bit cloudy, which is a result of the fermentation process.

Ready to enjoy!
- 2 teaspoons sea salt
- 1 cup filtered water
- 12 oz or 3-ish cups watermelon rind, green part peeled. Leave a little of the red flesh.
- 6-7 large or 12-13 small mint leaves
- Make a brine by bringing the water to boil and dissolve the salt. Allow to cool completely.
- Mix the cut melon pieces with mint and pack into a quart-size, wide mouth mason jar.
- Pour the brine over.
- Note: The amount of brine will not cover the ingredients. The brine will draw out quite a bit of liquid from the melon, so within 24 hours, there should be enough to cover the top of the ingredients by about one inch. If there isn’t sufficient liquid after 24 hours, add in more brine.
- Place your Kraut Source lid on according to directions.
- Place your ferment in a cool spot in your kitchen, away from direct sunlight and allow to ferment for 7 – 10 days.
Let me know if you try out the Kraut Source and how your ferment turns out!
FAQ + Things I Learned via Trial and Error
- What temp should this be kept at? Just keep it on the counter out of direct sunlight. Ideally it’ll sit at about 70-75 degrees.
- Is it ok if the water turns cloudy? Yes, this is a normal part of fermentation. If there are scuzzy looking gray or pink patches, visible fuzz, or white, or black spots, it’s gotten moldy, and you’ll need to start over. This happened to me the first time around because I used an ionized high pH water that is not appropriate for fermentation.
- How do I know when it’s finished? Ferments are typically finished in 6-10 days, and it’s a matter of personal taste. You can test it with pH paper, and your own taste preferences, e.g. how sour you like it. I like mine to taste very fermented.
- What does it taste like? They are crunchy, briny, a bit salty, a little sour. Not as sour as traditional sauerkraut, but they taste fermented.
- Can I use tap water? No. Chlorine, chloramine, and fluoride, which are all present in tap water, can all inhibit the fermentation process. You need to use purified or filtered water with no chlorine. You also cannot use ionized or “pH balanced” water, as it will not ferment (I learned this by trial and error). Read more about types of water to use for successful fermentation here.
- What else can I make with my Kraut Source? pickles, beverages, sauerkraut, kimchi, salsa, even ketchup! There are many recipes on the Kraut Source page.
- Can I use any kind of salt? You should use high quality, mineral rich sea salt like this.
Pin it!

Mary Vance is a Certified Nutrition Consultant and author specializing in digestive health. She combines a science-based approach with natural therapies to rebalance the body. In addition to her 1:1 coaching, she offers courses to help you heal your gut and improve your health. Mary lives in San Francisco and Lake Tahoe in Northern California. Read more about her coaching practice here and her background here.